
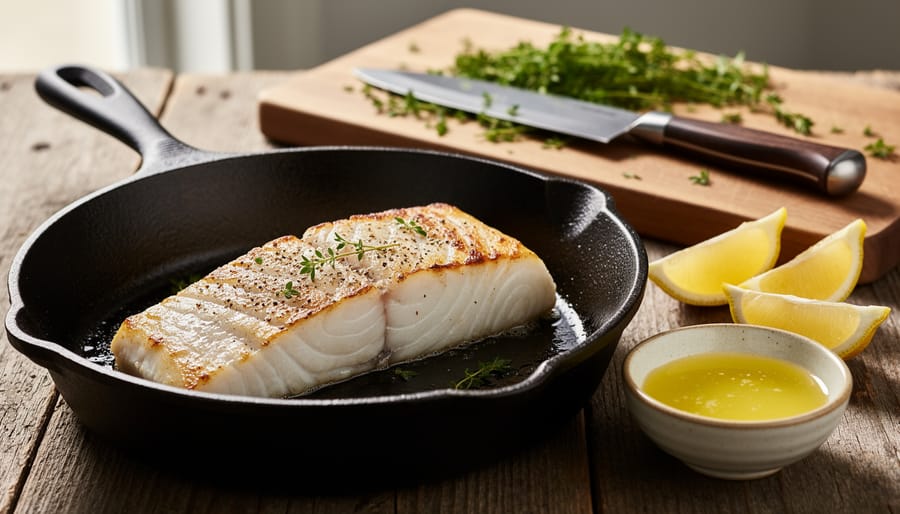
Cooking halibut comes down to eight reliable techniques that preserve this fish’s delicate, sweet flavor and silky texture without drying it out. Pan-searing, roasting, grilling, poaching, broiling, steaming, en papillote, and air frying each offer distinct advantages depending on your time, equipment, and the meal you’re building around it. The most important principle across all methods: cook to an internal temperature of 130°F to 135°F, then remove from heat immediately. Halibut’s lean composition means it crosses the line from succulent to rubbery fast, usually in under two minutes of inattention.
At Two Sea Fish Market, we’ve spent more than 75 years helping home cooks and professional chefs alike understand that premium halibut deserves respect, not fear. This fish responds beautifully to simple preparation when you choose quality fillets and apply the right level of heat. Whether you’re working with a thick center-cut steak or thinner tail portions, each cooking method in this guide includes timing benchmarks, temperature cues, and flavor-pairing suggestions that take the guesswork out of preparation. You’ll also learn what to look for when selecting halibut at the counter, so your technique has the best possible foundation to work from.
Why Halibut Deserves Your Attention (And a Little Extra Care)
Halibut stands apart in the seafood world for good reason. Its firm, meaty texture holds up beautifully across cooking methods, from high-heat grilling to gentle poaching, without falling apart like more delicate fish. The flavor is mild and clean, never fishy, which makes it a gateway fish for skeptics and a blank canvas for creative cooks. That delicate taste comes with a trade-off: halibut is exceptionally lean, with almost no fat marbling through the flesh. This means it cooks quickly and can turn dry if you’re not paying attention.
Chefs prize halibut for its versatility and elegant presentation, while home cooks appreciate how it accepts bold seasonings without losing its identity. It’s also a nutritional powerhouse, delivering about 20 grams of protein per 3-ounce serving with minimal calories and a healthy dose of omega-3 fatty acids.
Sustainability matters with halibut. Wild-caught Pacific halibut from well-managed fisheries is generally a responsible choice, though you should verify sourcing when possible. Fresh halibut should smell like clean seawater, have firm flesh that bounces back from a gentle press, and display a translucent, almost pearlescent quality. At Two Sea Fish Market, we’ve maintained rigorous sourcing standards since 1950, ensuring every piece of halibut meets these quality markers before it reaches your kitchen.
How We Selected These Cooking Methods
We didn’t pick these eight methods randomly. Each one earned its spot based on four practical standards: how well it protects halibut’s delicate texture, whether it truly highlights the fish’s clean flavor, how accessible it is for home kitchens, and its adaptability across skill levels.
Some techniques, like pan-searing and oven-roasting, are weeknight workhorses that beginners master quickly. Others, like en papillote or slow-roasting, offer more experienced cooks room to experiment with flavors and presentations. What they share is a proven track record. These are the methods professional chefs return to in restaurant kitchens and the same ones home cooks rely on when they want halibut that tastes expensive but isn’t stressful to execute.
We also prioritized methods that work with standard equipment. No specialized gear, no obscure ingredients. Just solid techniques that consistently deliver moist, flavorful results without turning a premium piece of fish into an expensive mistake.
1. Pan-Searing: The Quick, Golden-Crusted Classic
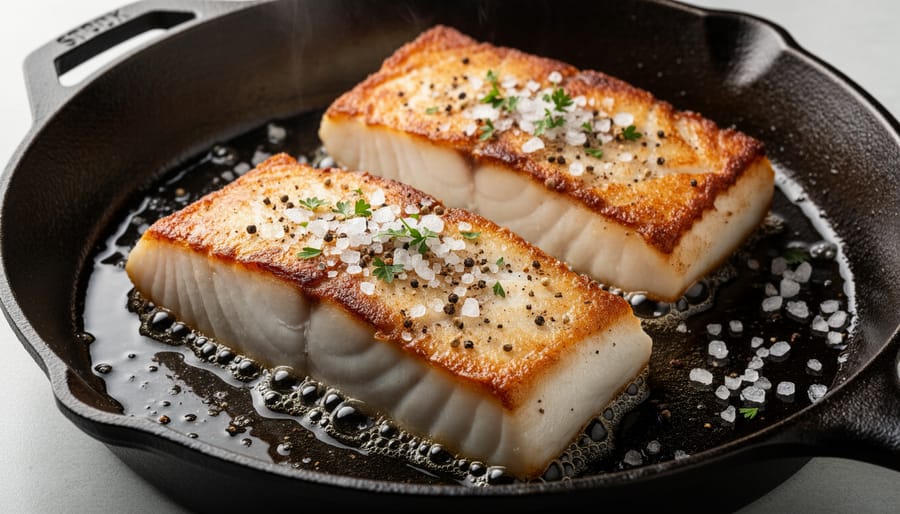
Pan-searing delivers that gorgeous golden crust you see in upscale restaurants, and it’s faster than you think. The key is high heat, patience, and a heavy pan that holds temperature.
Start with a cast-iron or stainless steel skillet. These retain heat better than nonstick, crucial for proper browning. Heat the pan over medium-high until it’s genuinely hot, you should see a shimmer when you add oil. Choose an oil with a high smoke point: avocado, grapeseed, or refined canola work beautifully. You need just enough to coat the bottom.
Season the fish generously with salt and pepper just before it hits the pan. Lay the fillet away from you to avoid oil splatter. Here’s where discipline matters: don’t touch it. Resist the urge to peek, flip, or fiddle for at least 3-4 minutes. The fish will release naturally when it’s ready, developing that restaurant-quality crust.
You’ll see the edges turn opaque and the bottom turn golden when you gently lift a corner. Flip once, then cook another 2-3 minutes depending on thickness. The fish should feel firm but still give slightly when pressed, like the flesh between your thumb and forefinger when you make an “OK” sign. Internal temperature should hit 130-135°F.
Unlike grilling seafood where you need to manage BBQ temperature zones and prevent sticking on grates, pan-searing gives you direct control and consistent heat contact.
2. Oven-Roasting: Foolproof and Forgiving
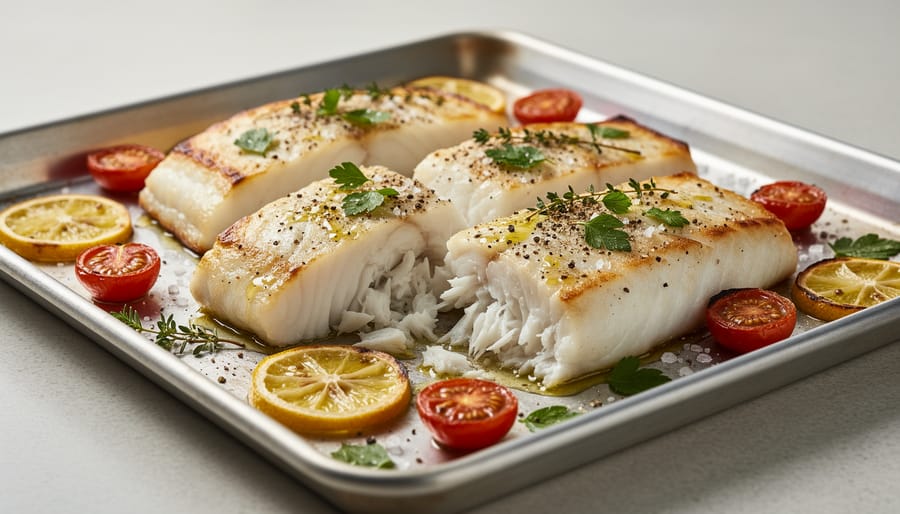
Oven-roasting delivers consistent, worry-free results that make it my go-to method when I’m cooking for guests or juggling multiple dishes. This technique works beautifully with thicker halibut steaks, anything from one to two inches, because the surrounding heat cooks the fish evenly without constant attention.
Start by preheating your oven to 400°F. While it heats, pat your halibut completely dry with paper towels and season both sides generously with salt and pepper. Place the steaks in a lightly oiled baking dish or on a parchment-lined sheet pan, leaving space between each piece for even heat circulation.
The timing rule is straightforward: roast for 10 minutes per inch of thickness, measured at the thickest part. A one-inch steak needs about 10 minutes; a hefty inch-and-a-half piece takes closer to 15. The fish is done when it flakes easily with a fork and reaches an internal temperature of 130-135°F.
Keep seasoning simple to let halibut’s sweet, delicate flavor come through. A drizzle of olive oil, fresh lemon slices on top, and perhaps a sprig of thyme or dill are all you need. You can also add cherry tomatoes, sliced fennel, or asparagus to the pan for a complete meal.
Roasting shines when you’re entertaining because you can prep everything ahead, slide the pan in while you finish other dishes, and serve confidently knowing the results will be tender and moist every time.
3. Grilling: Smoky Flavor for Summer Evenings
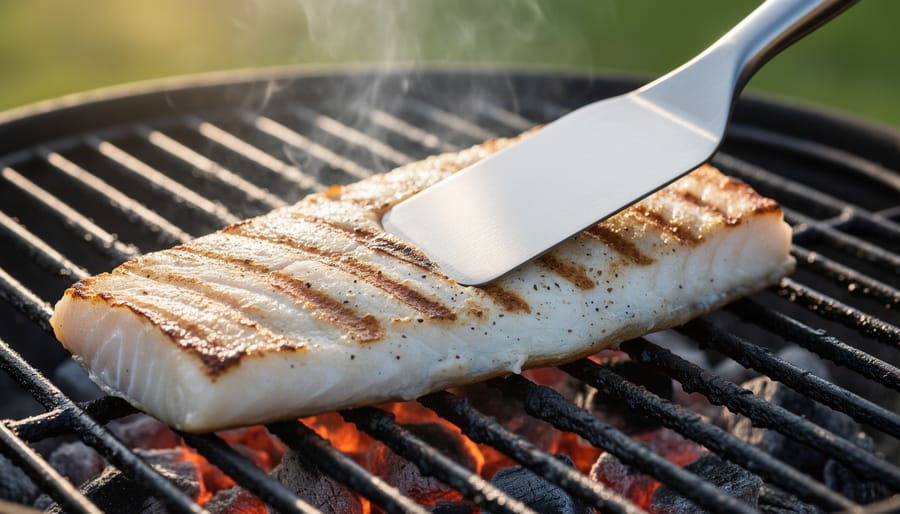
Grilling halibut transforms this mild fish into a showstopper with smoky char and beautiful grill marks, but it requires a lighter touch than grilling salmon or tuna. The lean flesh can stick stubbornly and break apart if you rush things.
Start with a clean, well-preheated grill, medium-high heat, around 400-450°F. The debate between oiling grates versus oiling the fish? Do both. Brush the grates with a high-smoke-point oil using a folded paper towel held with tongs, then lightly coat your halibut with oil too. This double layer creates a natural release barrier.
For thick steaks, place them directly on the grates, oiled side down. Resist the urge to fiddle. Let the fish cook undisturbed for 4-5 minutes until it releases naturally when you slide a spatula underneath. Flip once and finish for another 3-4 minutes.
If you’re working with thinner fillets or feeling cautious, use a fish basket or grill on a cedar plank. Cedar planks add subtle woodsy notes and eliminate sticking entirely, just soak the plank for at least an hour first, then place your seasoned halibut on top and close the lid.
Marinades should enhance, not mask. A simple mix of olive oil, lemon juice, garlic, and fresh herbs works beautifully. Marinate for 20-30 minutes maximum; longer turns the delicate flesh mushy. For summer gatherings, grilled halibut with chimichurri or a quick tomato-basil relish brings effortless elegance to the table.
4. Poaching: Gentle, Moist, and Elegant
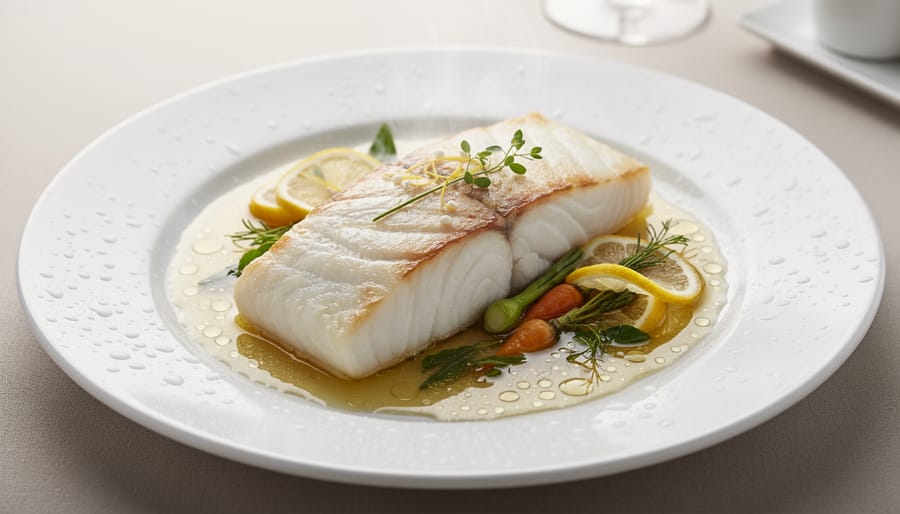
Poaching might be the most misunderstood cooking method, but it’s possibly the best way to showcase halibut’s delicate flavor while keeping every bite impossibly moist. Unlike more aggressive techniques, poaching surrounds the fish in gentle heat that coaxes it to perfection without drying it out.
Start with your poaching liquid. A classic court-bouillon works beautifully: combine water, white wine, sliced lemons, peppercorns, a bay leaf, and fresh herbs like parsley or dill. You can also use fish stock, vegetable broth, or even coconut milk for a richer approach. The key is aromatics that complement rather than compete with halibut’s mild sweetness.
Bring your liquid to a gentle simmer in a wide, shallow pan, then reduce the heat until you see just the occasional bubble breaking the surface. The temperature should hover around 160-180°F. Slide your halibut fillets into the liquid, making sure they’re fully submerged. For a one-inch thick fillet, you’ll need about 8-10 minutes. The fish is done when it flakes easily and reaches an internal temperature of 130°F.
Remove the halibut carefully with a slotted spatula, letting excess liquid drain. Poached halibut has a silky, almost buttery texture that pairs gorgeously with hollandaise, beurre blanc, or a simple lemon-herb sauce. You can even reduce the poaching liquid itself into a concentrated sauce base. This technique shines when you want halibut to be the centerpiece of an elegant dinner without any fuss.
5. Broiling: Fast Heat from Above
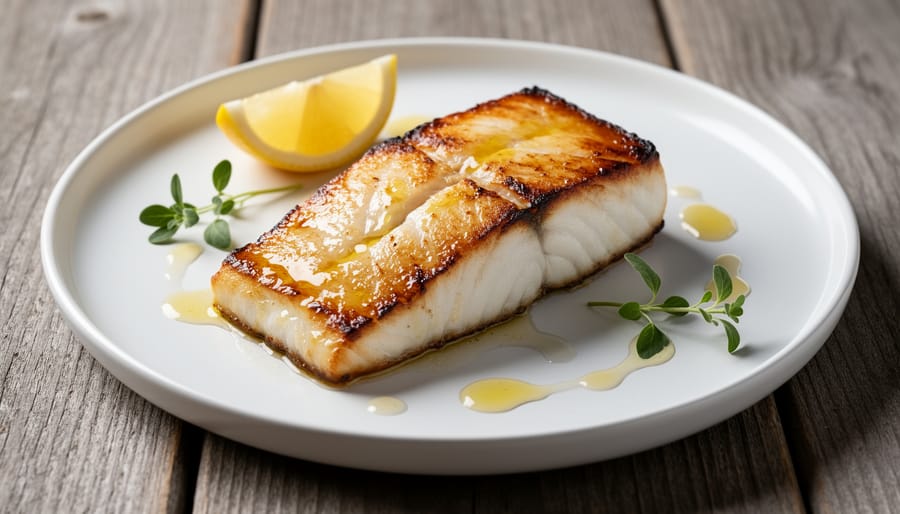
Broiling transforms halibut into a weeknight hero. This top-down heat method caramelizes the surface while keeping the interior moist, and you’ll have dinner on the table in under ten minutes.
Position your oven rack about four to six inches from the broiler element. Too close and you’ll char the outside before the center cooks; too far and you’ll miss that golden crust. Pat your halibut dry and brush it lightly with olive oil or melted butter. Season with salt and pepper, then add any toppings now, they’ll crisp beautifully under intense heat.
Preheat your broiler on high for at least five minutes. Place the halibut on a lined baking sheet and slide it onto that positioned rack. For a one-inch-thick piece, expect about four to six minutes total. Watch constantly through the oven window. When the top turns golden-brown with slight charring at the edges and the fish flakes easily with a fork, it’s done.
Simple toppings shine here: a pat of herb butter melts into a glossy glaze, panko breadcrumbs mixed with lemon zest turn crunchy and golden, or a sprinkle of parmesan creates a savory crust. The trick is staying nearby, broiling happens fast, and the line between perfect and overdone is thin.
6. En Papillote (Parchment Baking): Steamed Perfection in a Packet
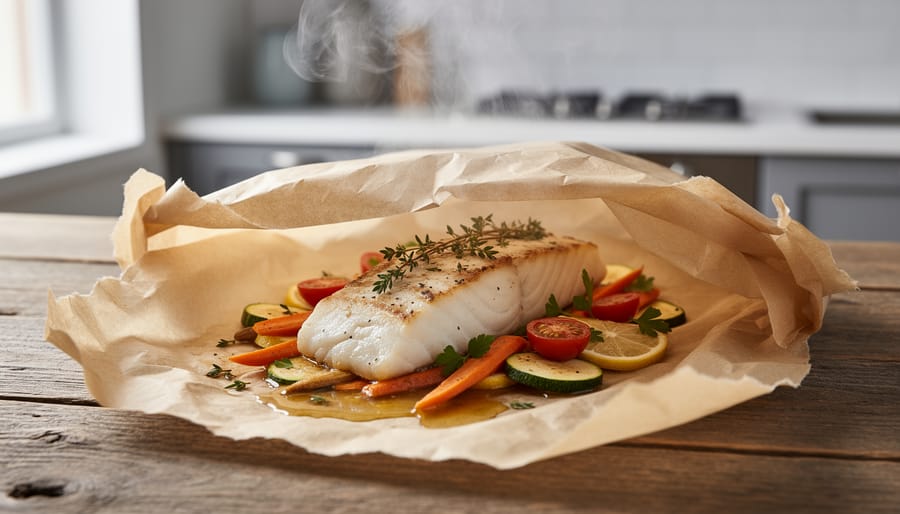
En papillote, French for “in parchment”, turns halibut into a self-contained steam packet that practically guarantees moist, perfectly cooked fish. You fold halibut with vegetables, herbs, and a splash of liquid inside parchment paper, then bake. As the packet heats, steam builds inside, gently cooking everything together while concentrating flavors. The fish bastes itself in aromatics, and you get a dramatic tableside presentation when diners open their puffed parcels.
Start with a 12-by-16-inch sheet of parchment paper per serving. Fold it in half, then open it flat. Place halibut on one side of the crease, season with salt and pepper, then layer thinly sliced vegetables, fennel, zucchini, cherry tomatoes, leeks work beautifully. Add fresh herbs (thyme, dill, parsley), a thin lemon slice, a pat of butter or drizzle of olive oil, and two tablespoons of white wine or broth.
Fold the parchment over to cover the fish. Starting at one end, make tight overlapping folds along the open edge, crimping as you go around the half-moon shape. Twist the final end to seal completely. The packet should puff slightly but hold tight.
Bake at 400°F for 12-15 minutes depending on thickness. The parchment will balloon and lightly brown. Serve packets on plates, let guests tear them open to release fragrant steam. This technique adapts well to any cooking style, including fish barbecue tips using foil on the grill instead of parchment.
7. Slow-Roasting: Low and Slow for Buttery Texture
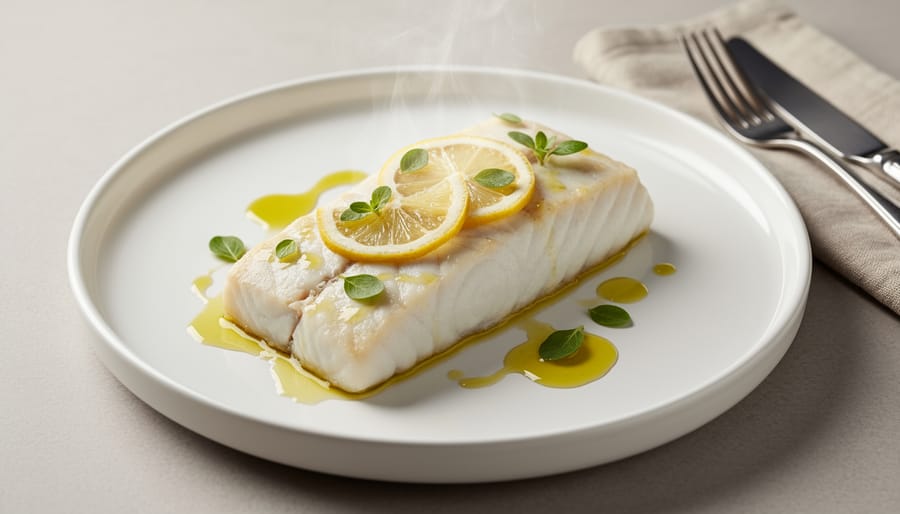
If you’ve never slow-roasted fish, halibut is your ideal introduction. This modern technique transforms lean halibut into something almost decadent, silky, buttery, and impossibly tender, by cooking it gently at 250-275°F for 20-30 minutes, depending on thickness.
The science here is simple: low heat prevents proteins from seizing up and squeezing out moisture, the usual culprit behind dry fish. Instead, the flesh cooks through evenly without ever tightening, creating that luxurious, almost velvety texture you’d expect from a much fattier fish.
Start by patting your halibut dry and seasoning generously with salt. Place it in a lightly oiled baking dish, drizzle with olive oil or melted butter, and slide it into a preheated 250°F oven. For a one-inch steak, check at 20 minutes, it should register 130°F in the thickest part. Thicker cuts may need up to 30 minutes.
This method shines when you’re hosting and want to control timing without stress. You can prep sides, pour wine, and chat with guests while the fish cooks itself. The result is restaurant-caliber halibut with minimal effort and zero risk of overcooking. Finish with a squeeze of lemon or herb-infused butter, and watch your guests reach for seconds.
8. Sautéing with Sauce: Restaurant-Style Finishing
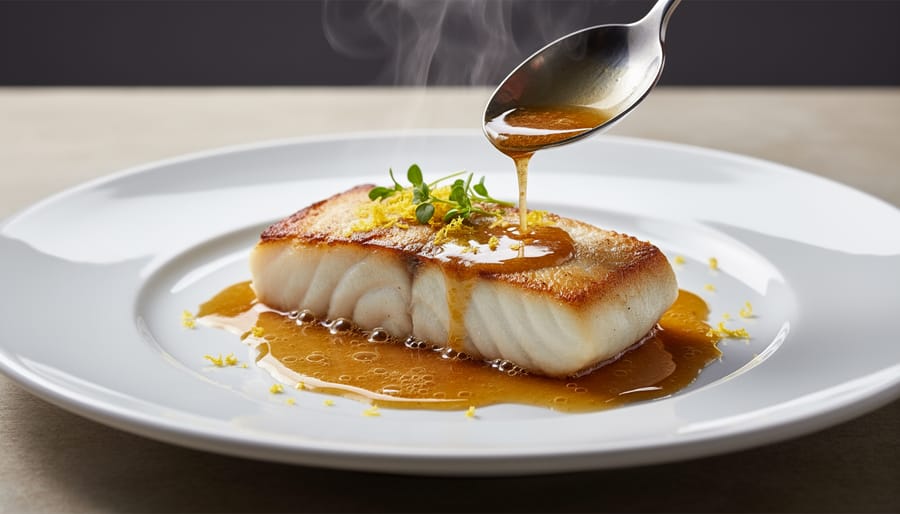
This technique turns your stovetop into a professional kitchen. The secret lies in what happens after you cook the fish, those flavorful browned bits stuck to the pan (the fond) become the foundation for a sauce that transforms a simple halibut fillet into something extraordinary.
Start by sautéing your halibut as you normally would, medium-high heat, a bit of oil or butter, about 3-4 minutes per side for a standard fillet. Once the fish reaches that perfect opaque center, transfer it to a warm plate and tent loosely with foil. Here’s where the magic happens.
Lower the heat to medium and add a tablespoon of butter to your still-hot pan. For a classic lemon-caper sauce, toss in a tablespoon of capers, squeeze in fresh lemon juice, and swirl until it emulsifies into a glossy coating. For brown butter, let that butter foam and turn nutty-golden before adding a splash of white wine or stock to deglaze, scraping up all those caramelized bits. A white wine reduction follows the same principle, pour in about half a cup of dry white wine, let it bubble and reduce by half, then swirl in cold butter off the heat for richness.
The entire sauce process takes under two minutes. Spoon it over your halibut immediately and watch how that silky, concentrated flavor clings to every flake. This is how restaurants achieve that “wow” factor without complicated techniques, just smart use of what’s already in the pan.
Essential Tips Every Halibut Cook Should Know
Regardless of which method you choose, these universal principles will help you cook halibut with confidence every time.
Temperature is everything. Use an instant-read thermometer and pull your halibut from the heat when it reaches 130-135°F at the thickest part. It’ll continue cooking for a minute or two as it rests, reaching that perfect just-opaque finish without drying out. This lean fish has no margin for error, five degrees too far and you’ve crossed from tender to tough.
Season earlier rather than later. Salt your halibut 15-20 minutes before cooking to let it penetrate the flesh, which seasons the fish throughout rather than just the surface. Don’t be timid with your seasoning, halibut’s mild flavor welcomes bold support from citrus, fresh herbs, quality butter, and aromatics like garlic and shallots.
- Invest in a thin, flexible fish spatula, it slides under delicate fillets without tearing
- Pat halibut completely dry before cooking to achieve proper browning
- Let cooked halibut rest 2-3 minutes before serving to redistribute juices
- Never flip fish more than once; patience prevents sticking and breaking
- Room-temperature fish cooks more evenly than fridge-cold pieces
The same careful attention you’d apply to a summer BBQ method works here: respect the ingredient, control your heat, and resist the urge to fiddle. When you source responsibly, from sustainable fisheries and trusted suppliers like Two Sea Fish Market, which has prioritized quality since 1950, you owe it to that premium fish to cook it right.
Your Halibut, Your Way
With eight distinct techniques in your repertoire, you’re equipped to cook halibut confidently for any occasion. Choose pan-searing when you want dinner fast and impressive. Reach for slow-roasting when you’re craving that melt-in-your-mouth texture. Fire up the grill for summer gatherings, or fold parchment packets when you need a fuss-free weeknight meal that still feels special.
The real secret? None of these methods will shine without quality fish to begin with. Fresh halibut with firm flesh and a clean ocean scent makes every technique easier and more forgiving. That’s been our focus at Two Sea Fish Market for over 75 years, connecting home cooks and chefs with seafood that honors the craft you bring to the kitchen.
Start with one method that matches your comfort level, then branch out as you build confidence. Each approach reveals something different about this remarkable fish. Your next perfectly cooked halibut dinner is just a technique away.
Frequently Asked Questions
Cooking halibut can raise a few practical questions, especially if you’re preparing this premium fish for the first time. Here are answers to the most common concerns we hear from home cooks.
How can I tell when halibut is done without overcooking it?
The most reliable method is using an instant-read thermometer, aim for 130-135°F in the thickest part. Visually, the flesh should be opaque throughout and flake easily with a fork but still feel slightly firm, not mushy.
Should I remove the skin before cooking halibut?
It depends on your cooking method. For pan-searing or grilling, leaving the skin on helps hold the fillet together and creates a crispy texture. For poaching, roasting, or en papillote, you can remove it beforehand since it won’t crisp anyway, the choice is yours.
What’s the safest way to thaw frozen halibut?
Thaw halibut overnight in the refrigerator on a plate to catch any moisture. For faster thawing, seal it in a plastic bag and submerge in cold water, changing the water every 30 minutes. Never thaw at room temperature, which encourages bacterial growth.
How do I keep halibut from drying out during cooking?
Since halibut is lean, avoid high heat for extended periods. Cook just until done, consider basting with butter or oil during cooking, and let it rest for a couple of minutes after removing from heat, carryover cooking will finish it perfectly.
These fundamentals will help you approach halibut with confidence, no matter which cooking method you choose.